


)
 Express version: BlueHost makes the sign-up process very straightforward, so when you’re ready you can click over onto their website and simply follow their steps! The most important things to know are that a) you can start on the lowest plan and upgrade at any time and b) getting privacy protection for the free domain that comes with your hosting sign-up is recommended. Once that’s done you can move onto how to install WordPress.
The lesson: With the ins and outs of choosing a host covered, it’s time to show you how to actually sign up for hosting (and it’s easy!). As mentioned, this will be covered using BlueHost (for whom I’m an affiliate) as the example (I’ve recommended BlueHost to thousands of people – literally!). I will include what to do if you already have a domain name, and what to do if you don’t (so don’t worry – no one will be left behind here!).
A quick discussion on the packages
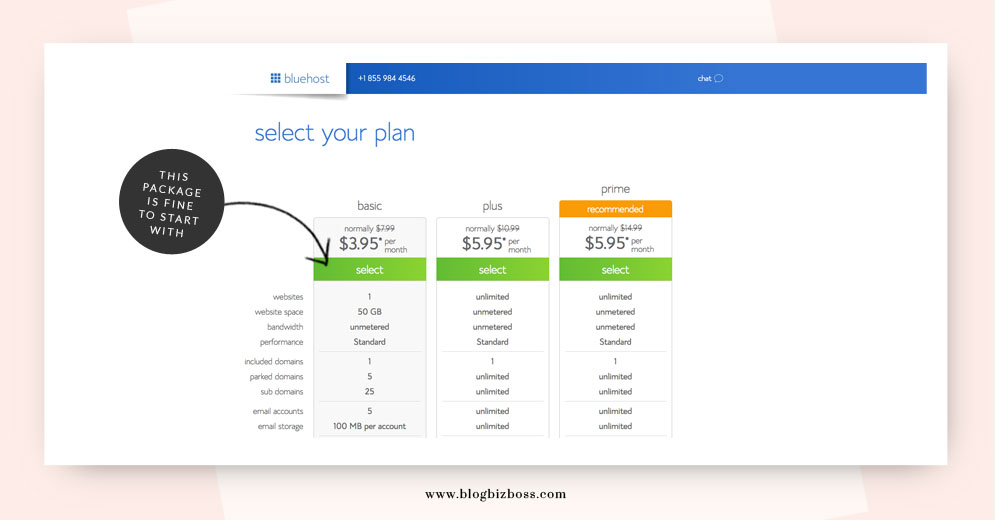
But before we get to the step-by-step instructions, let’s talk quickly about the BlueHost packages*. As I write this, they have three available: starter, plus, and business pro. Starter is the cheapest (from $3.95 per month), and Plus is in the middle (at $6.95). It’s unlikely at this stage you’ll need to consider the Business Pro, so we’ll leave that for now because there’s something about the other two I want to focus on… and that’s the number of websites they offer.
Most people will probably think they only need one website, but as you’ll find out later on, I actually recommend having two: one is your live site for the world to see, the other is for creating a duplicate where you can test out plugins, new themes, updates and so on. I have an exact copy of this site on a subdomain (eg: mytestsite.blogbizboss.com) where I do all of those things! (Side note: subdomains don’t cost extra money.) We’ll get to all of that, but for now I’m just flagging it as something to be aware of (and remember, you can always start with one site and upgrade later on – chat with BlueHost about this if you’re unsure).
How to get a domain name & hosting
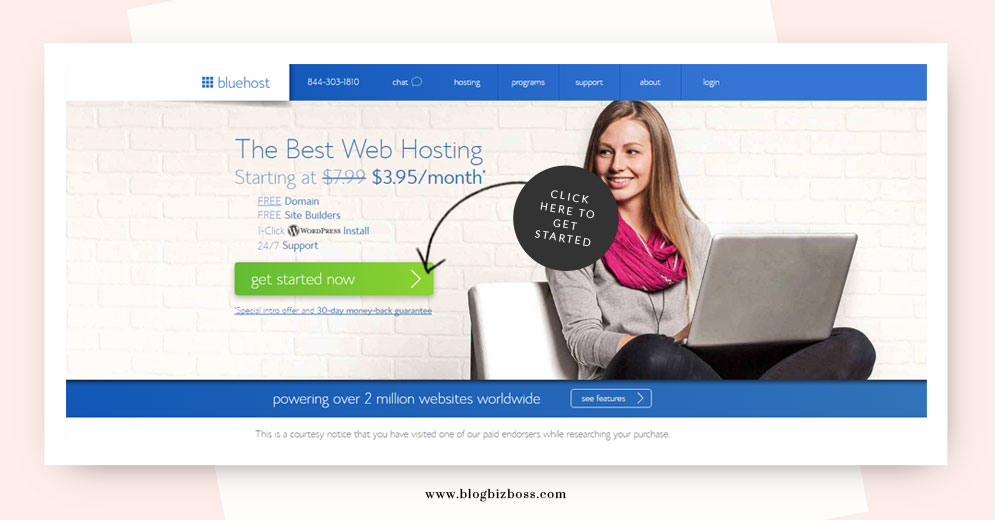
The first step is to get your domain name and hosting sorted. Head to the BlueHost website (don’t worry if it looks a little different to these pictures – they update their designs a lot!) and click “get started now”. This will take you to their page of packages.
Next, select your package! I use the “plus” plan (as I have more than one website), but for most people the “basic” will be just fine to start with (and you can always easily upgrade later on if need be).
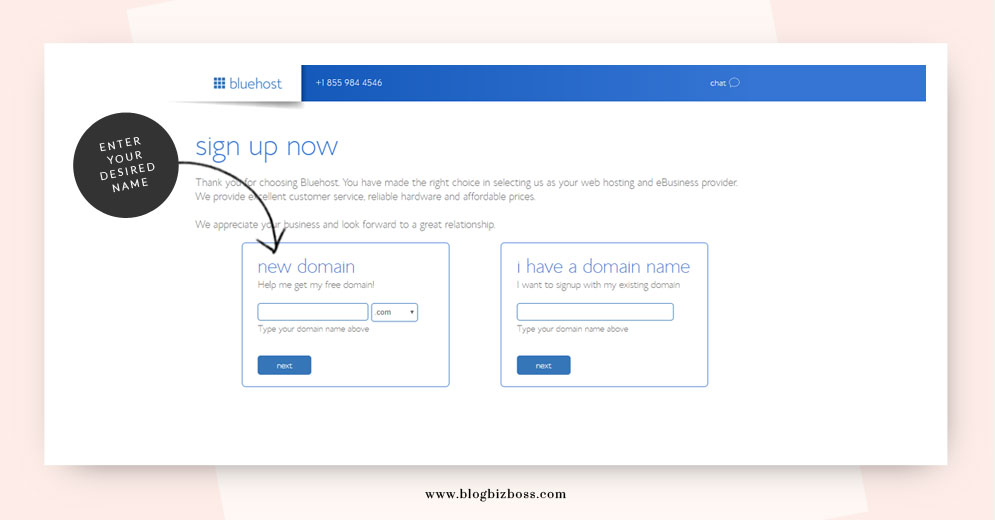
This is the fun part! Enter your desired domain name or the domain name you’ve already registered elsewhere. If your existing domain name is already being used on another blog, for example, that’s OK – it won’t mess anything up until you’re ready to use it with the new WordPress site you’re currently creating.
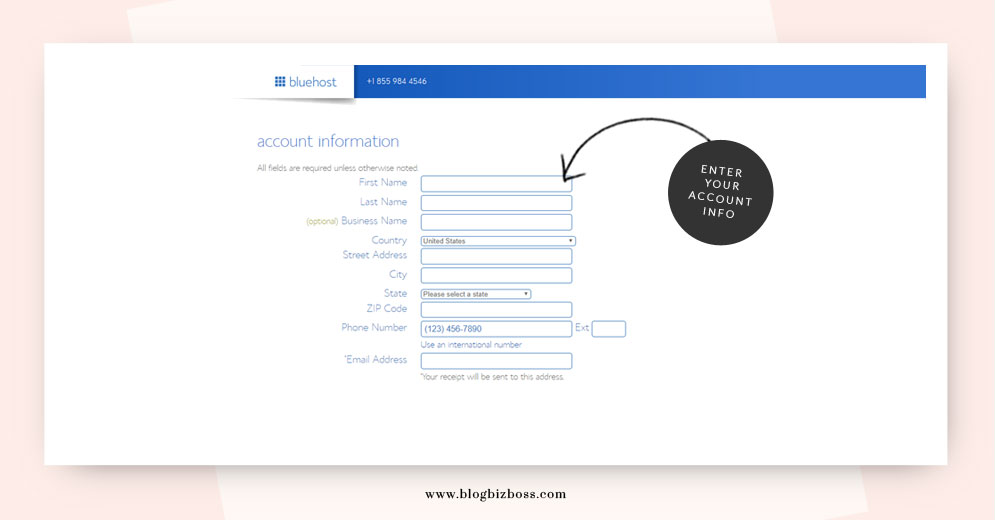
If the desired domain name is available… congrats! You can proceed! Start by filling in your account information.
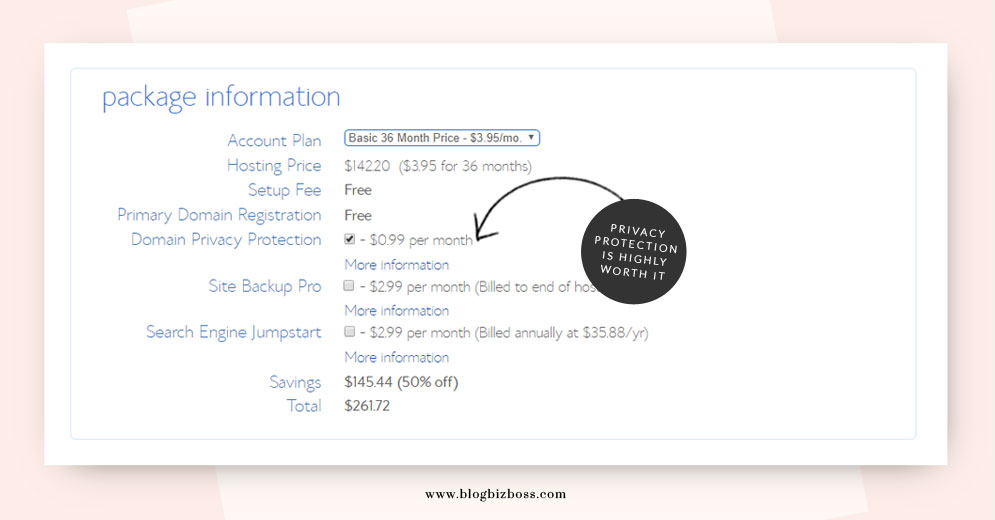
Then when you get to package information section and the part about privacy protection, know this: it’s recommended! The length of the plan is up to you, and everything else presented is optional (I don’t actually recommend anything else).
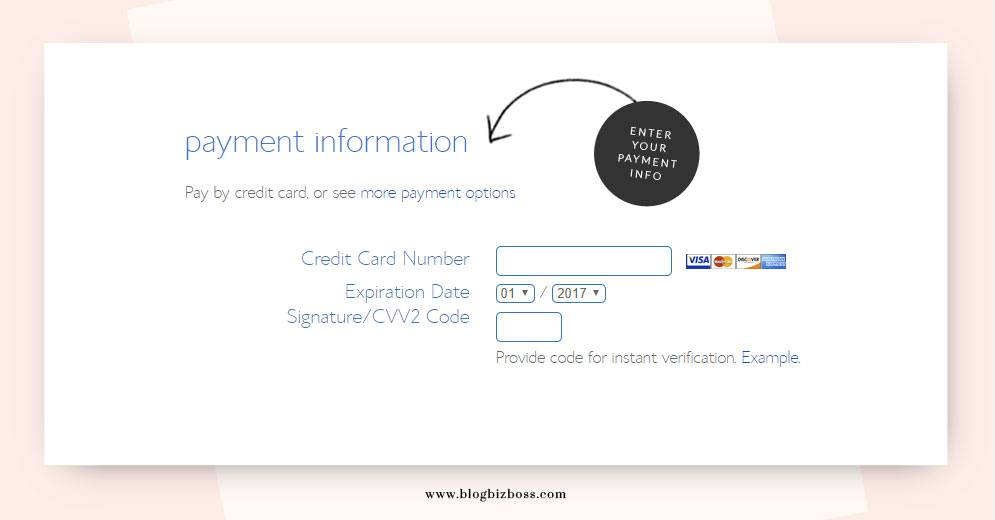
Once you’ve entered your payment info and confirmed the reading of the terms and conditions (everyone reads those, right?!), you can click “submit” and proceed. On the next screen you may be given some special offers including on-demand WordPress help (for a fee). These are optional, but there’s nothing else I recommend you need for now.
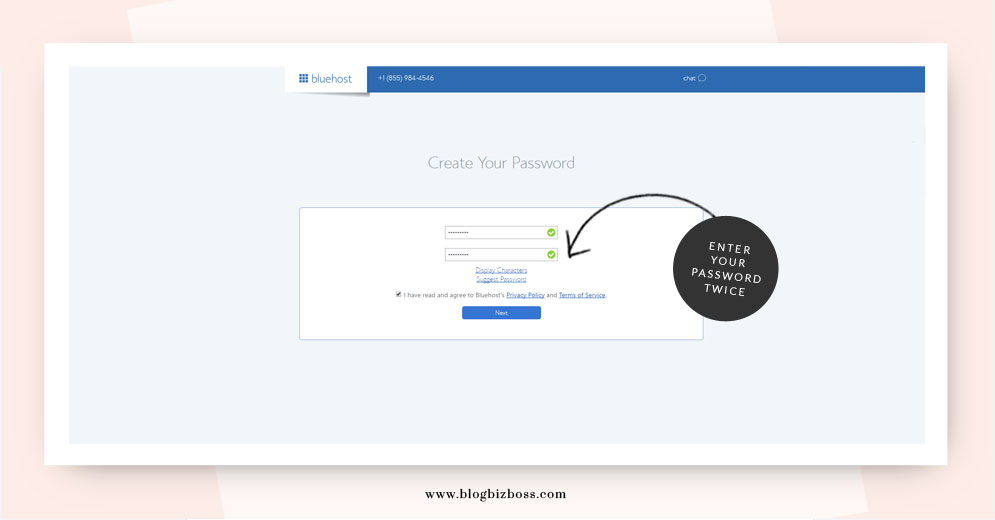
Congrats! Your sign up was sucessful. After this step, you need to choose a BlueHost account password, so go ahead and click “Create your password”.
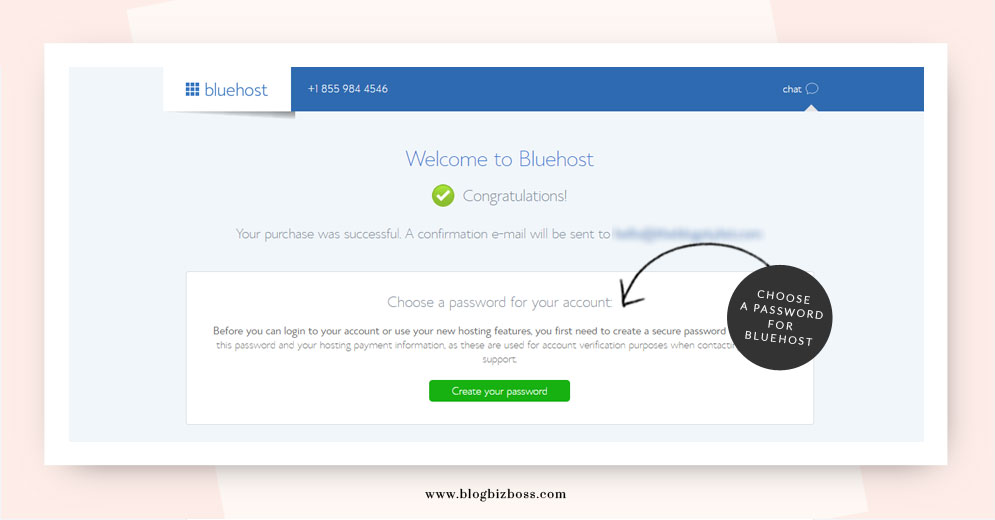
On the next screen you’ll be asked to enter your new password twice.
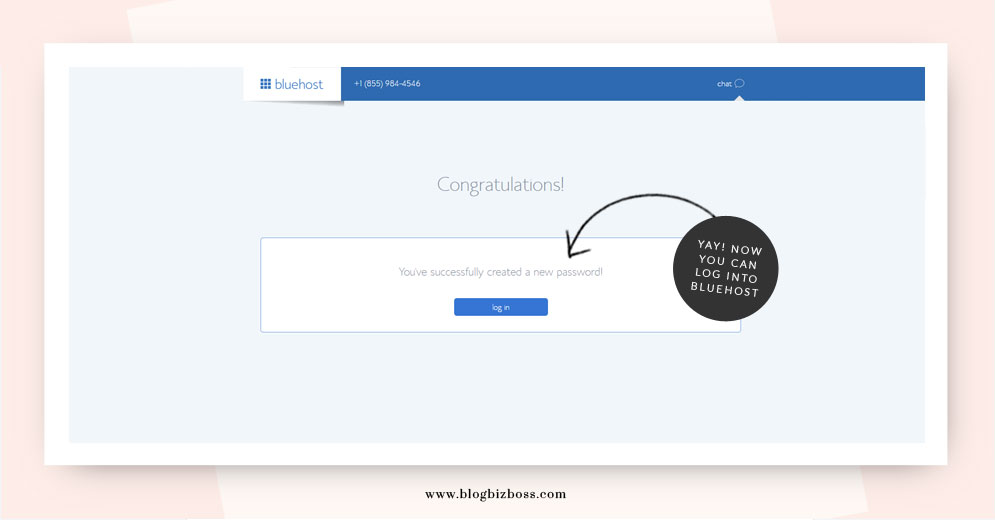
After you’ve completed that, you’ll be taken to the final screen where you can log into your new BlueHost account (and the automatic WordPress installation will begin – more on that in the next lesson)! And that’s all there is to getting a domain name and hosting! Also, you’ll now receive all of your account details via e-mail. These e-mails include your receipt of purchase, account/FTP details (save these for later) and your e-mail address verification.
*I recommend confirming the pricing with provider before signing up as they are subject to change.
Related video
In this YouTube video by BlueHost, you’ll learn a bit more about domain name privacy (which you have the option of purchasing when you sign up for your free domain name with BlueHost).
Do you have any questions about this lesson? Feel free to ask below!
Next lesson: How to install WordPress

Thank you so much for these awesome tutorials! I’m stuck though! I used your quick tutorial to get started. I followed all these steps & it downloaded WordPress for me. I was able to get into WordPress & was able to make my first post. However, when I go to to my website, it says that it’s Coming Soon! & you can’t see my blog. Any ideas what step(s) I missed? Thanks!
Congratulations Andrea! The coming soon message is just a temporary cover in case you’re not ready for the world to see your blog. Once you log into the WordPress dashboard (via yoursitename.com/wp-admin or BlueHost’s WordPress tools – there’s a lesson on this) you’ll see there’s the option to turn this off. (So technically you haven’t missed any steps – you just need to move onto the next lessons). Well done for getting this far!!!
At Blue Host do you have to pay for 3 yrs at once? I can’t afford that but yearly I could do.
Thanks Judy
Hi Judy! You can pay for 12, 24, 36 or 60 months – it’s up to you! The more years you pay for the cheaper it is, but it’s totally fine to get started with a 1 year plan if that’s what suits you best!
wow!! this E-course is absolutely wonderful . Since I decided to make my a blog couple of weeks ago, I’ve been learning from all sources but so far your E-course has been tremendous help. Thank you!
@Yasmin thanks so much Yasmin! Comments like yours make my day!
Hi,
I have just entered this world and was wondering if I can register a free domain through Bluehost for now, literally just for less than a month and then purchase the starter or plus after?
@Bohemian Hi there! Great question. I don’t believe you can get a free domain through BlueHost without purchasing their hosting, however, you might like to double-check using their live chat feature. I actually just got an e-mail from them this morning advertising 30% off domain names (timing!) so if you can’t get a free one for now, you might at least be able to save a little. Hope that helps!
I am in the very beginning of planning for a website/blog, but I did purchase 2 domain names through GoDaddy several weeks ago (mainly because I did not want to take the chance that someone else would purchase them). Unfortunately, I did not opt for the domain privacy primarily because I did not understand the need for it. After this lesson, I am concerned about my private information being made available. Can I go back and have GoDaddy add this protection? To complicate the question more, I don’t think I am going to use either of the domains nor will I use GD as the host. More than likely I will choose BlueHost and also another domain name through their service. Should I still go back and purchase the privacy at least for the year I will own those domain names?
@ranahill GoDaddy’s customer service is pretty good if you need any help with the privacy stuff. Typically once I’ve decided I no longer want a domain name I cancel it (which would save you the cost of privacy), but you could always wait until you have your new one with BlueHost until doing that to be sure 🙂
Does bluehost charge for a full year, or monthly?
@lchfhack Hi there! They have a number of options and you can also cancel at anytime and they’ll refund the unused portion of your payment (if unsure, confirm this with them before you sign up). Hope that helps!
Hi, what about the Bluehost Site Backup Pro option? Would that be helpful as well or does WordPress offer a free backup solution too?
PS. This guide is AMAZING. Thank you for keeping it free!
@giannagrassi Thanks Gianna! I prefer to handle my own back-ups, that way I know 100% when they were done and that I have full control over them. I outline my reasons in the lesson in backing up – it’s here 🙂