


)
 Express version: If you followed the previous lesson on how to sign up for a WordPress hosting account with BlueHost, you may have discovered by now that the automatic installation has already begun! You may have also discovered it’s very simple! Feel free to complete this step on your own before moving onto how to use the BlueHost control panel, or read below for some more tips.
The lesson: Thanks to some recent updates by BlueHost there are now three ways you can install WordPress: 1) automatically via BlueHost (the new and easiest way); 2) with “1-click” via BlueHost (the old way that can still be performed); and 3) manually (the really old way which you’ll probably never need to do).
As some early members of this e-course may have BlueHost accounts that are yet to be upgraded to the new installation method, I’ll go over the new AND old ways. It is important to recognise WHICH METHOD you’re using (probably automatically if you singed up after June 2017) as this will be important for the lessons on the control panel and logging into WordPress.
Option 1. Automatic installation (the new way)
When you first log into BlueHost (after clicking the login button pictured in the last lesson) you’re asked if you’d like any of the themes they’re offering to be installed. This is optional – you can add or remove any WP theme you wish at any time. If you’re not ready or don’t like the ones offered (personally, I’m not a fan and prefer the WordPress themes I’ve featured here), simply click “Skip This Step”.

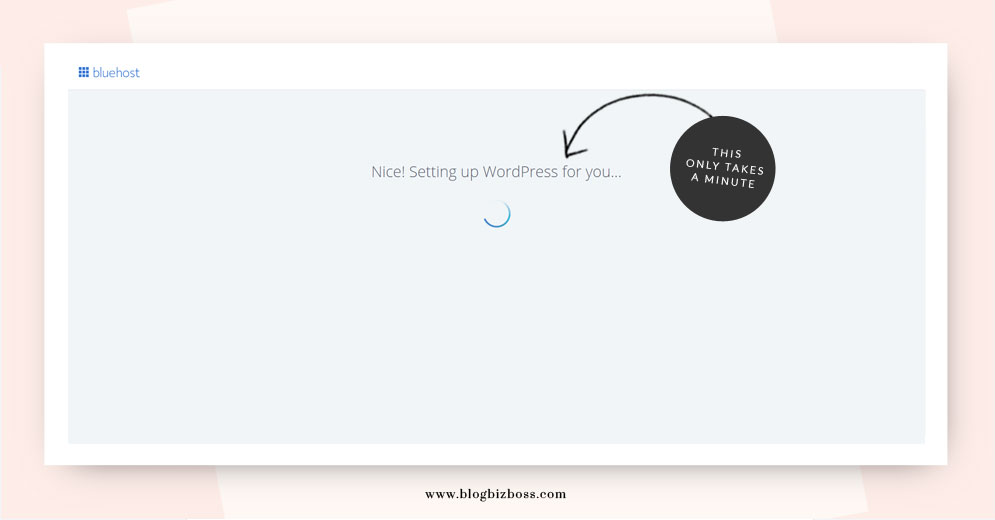
Now BlueHost will start to automatically install WordPress for you…
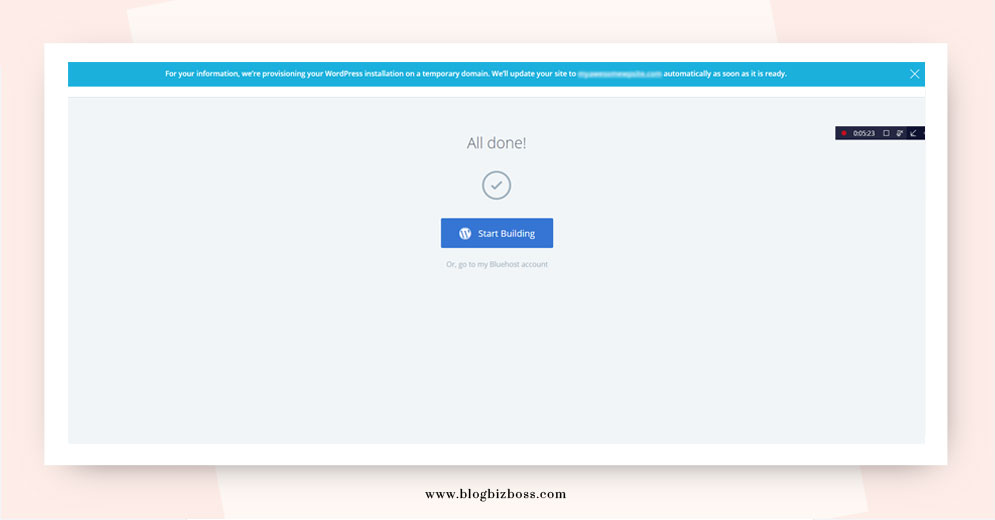
And voila! It’s all done! If you took advantage of the free domain name when signing up, your new WordPress site may now be installed on a temporary URL. Don’t worry if this happens, it will be automatically updated by BlueHost as soon as it’s ready (it doesn’t take long either). If you had already registered a domain name elsewhere, simply go to your registrar’s website and update the domain name servers (DNS) with the details that BlueHost e-mailed you (I cover that in a lesson that you’ll see soon).
Option 2. 1-click installation (the old way)
To reiterate, NEW BLUEHOST CUSTOMERS DON’T NEED TO DO THIS. This is only for older customers who have accounts that may not have been upgraded yet. If you’re using another host who doesn’t offer automatic installation, you may also find these instructions helpful.
Before BlueHost made some upgrades mid 2017, the 1-click installation (which actually involves about five steps) was how you’d install WordPress. Originally, the lesson on using the cPanel came before this lesson as it made more sense to have an understanding of how to use the cPanel first, so you may like to read over it and come back to this (it’s up to you!).
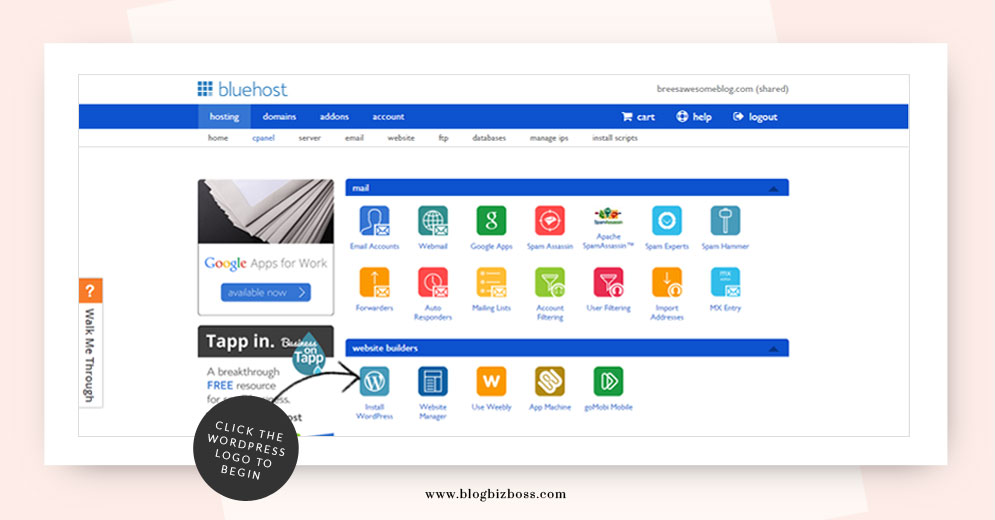
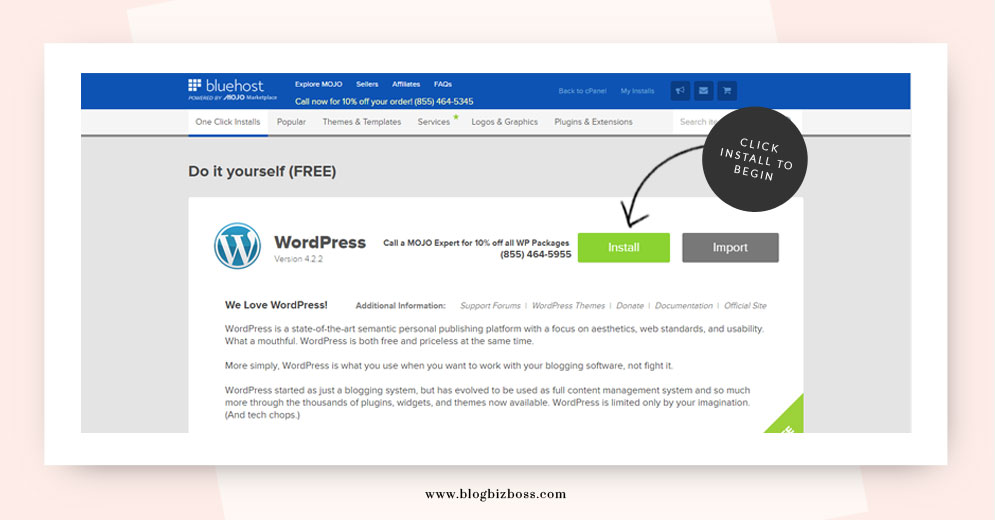
Start by logging into BlueHost‘s control panel and you’ll see a screen similar to the below. Click the W (the WordPress icon).
Next, you’ll be taken another website called Mojo Marketplace. Here, you’ll click the install button to begin!
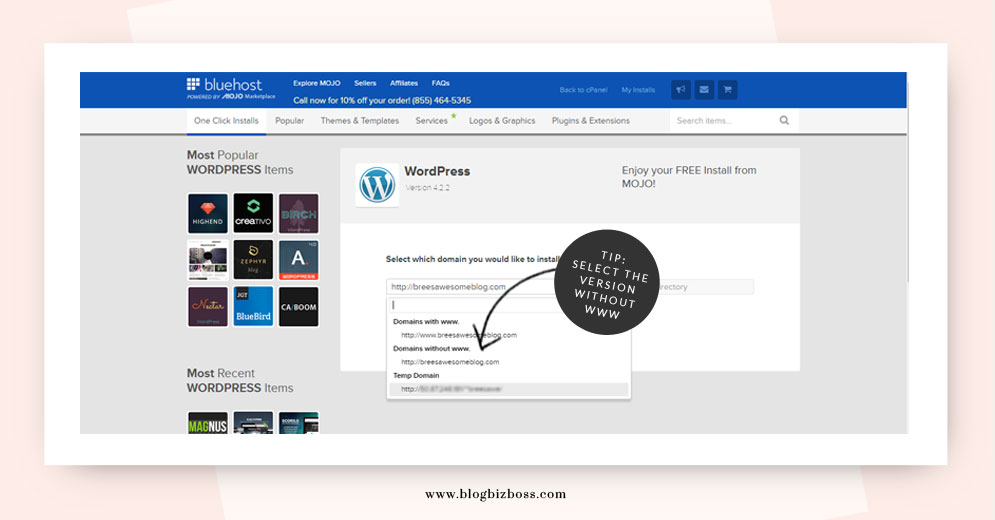
On the next screen you get to select from the dropdown box where you get to choose which domain you’d like to install WordPress. For most people, there’ll only be the option of one domain here, BUT you get the choice of selecting with the “www” or without (I recommend without but this is optional). You don’t need to type anything into the directory field (unless you want your site to live at, for example myblogname.com/blog – but it’s probably not necessary). Click check domain.
If your chosen domain name is currently in use elsewhere (or you’re yet to update your name servers), you can select Temp Domain, finish the set up process, and adjust some settings later when you’re ready to let go of the site it’s currently being used on.
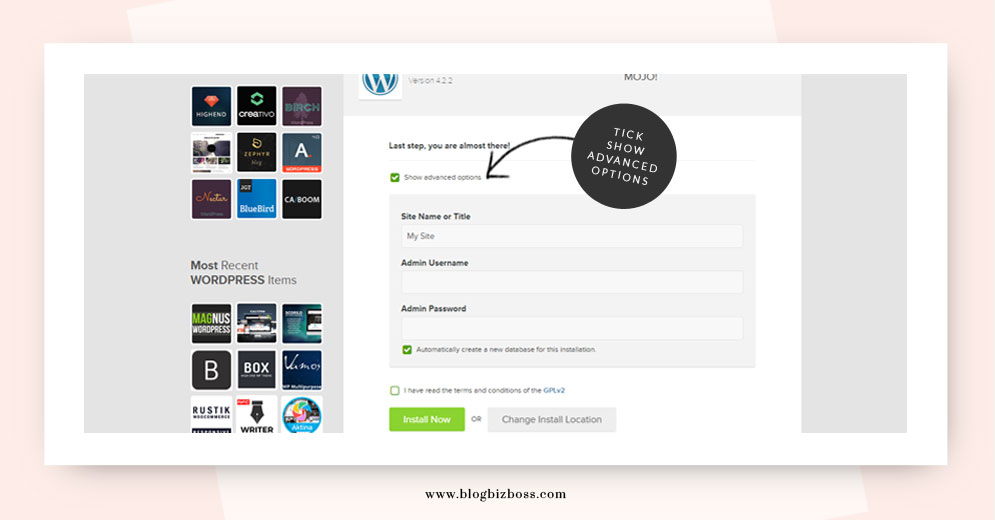
In this screen you’ll see you’re at the last step! You could just click the terms and conditions box and be done, but I recommend clicking advanced options first – it’s for security reasons. A new area will appear, where you get to type in your blog’s name. You’ll also see a pre-populated field for Admin Username – it will have your e-mail address listed, but I recommend changing that as your e-mail address can probably be guessed. It will also have a pre-populated (and very secure) Admin Password. You can keep that if you like, but if you’re wanting something easier to remember, now’s the time to change it (just make sure it’s also secure). Leave the “Automatically create a new database for this installation” box checked, and once you’ve ticked confirmation of the terms and conditions, you can click Install Now.
On the next page, it’s just a matter of waiting patiently until your installation is complete (it shouldn’t be more than a minute or so)! Once that’s done, it’s time to login. Congratulations, you’ve just set up WordPress! It’s time to login!

Option 3. Manual installation
The manual installation is a little trickier and you will probably never need to do this! (But I always think it’s good to have an awareness of all options.) It actually doesn’t take too much longer, but it is a three-part process that first involves creating a database in your cPanel, and then requires using your FTP to upload the WordPress files you’ve downloaded from wordpress.org. You then run a simple script to get everything to work together. I won’t be going into more detail than that since it’s a beginner e-course, so it’s time to move along!
Related video
In this YouTube video by BlueHost, you’ll see how to do the set up (the old way) using a different icon – the Mojo Marketplace icon – which will allow you to do the same thing.
Do you have any questions about this step? Ask below!
Next lesson: How to use the cPanel

Hi there! I’m so new to this, and really hoping I didn’t do something wrong. I purchased my domain through WordPress. Do I need to install anything extra, or can I just work on my blog (still in customizing stage) from the website I logged into? Thanks a ton!
Hi there!!! OK, so I think what you’re saying is you have a WordPress.com account/blog and you’ve purchased your domain name for use with it? That’s quite OK – it just means that when you purchase hosting (I include instructions for how to do this with BlueHost) and install WordPress (the self-hosted, wordpress.org version) you will need to set it up on a temporary URL (I also include instructions on this) until you’re ready to change the DNS settings – there is no rush to do this, you can customize, write posts etc to your new site until you’re ready to make the change (and I have a post on what you need to do later on when it’s time to make the switch!).
Hello! I love this course so far! A lot of helpful information that will help me with getting started with my blog. You have lifted the veil on a lot of questions I have had so far! I’m using Bluehost as well and installed WordPress before I saw this course. I believe I installed it this way with a new database, but am not 100% sure. Is there a way to check this? Thank you for all of your help, and priceless information!
@rachelmelissa You’re so welcome and thanks for such a sweet message! If you installed WP using BlueHost using similar steps to what I’ve outlined, then everything should be fine and you’re good to go!
Is there any other resource for installing WordPress? I’m using Siteground as my host and it seems very confusing. I’d like to use wordpress.org (not .com).
@andao101 Hi there, do mean if I offer any other information for installing WP on other hosts? Unfortunately I don’t – I focus on BlueHost as that’s what I use and recommend myself. If you’re keen to stay with your host, I would suggest contacting them and asking them to help walk you through the installation process – it may be a little different to what I’ve written here.
Thank you very much for your reply!
Hi Bree,
I have a beginner’s question: does your Admin Username have to be an e-mail address (since it’s the option given by default)?
Thank you so much for this course – you are a life saver. I have learned more today on your website than in days of research!
Magali
@magalib Hi Magali! Thanks so much for your kind words 🙂 To answer your question, no the user name doesn’t have to be your email address. I don’t actually recommend using your email address as your user name as it is something that other people know and/or can usually be guessed. For a little more security, try something else.
Hi Bree, I have volunteered to update an existing site on WP. I was given all of the passwords and logon information. I have been able to make minor updates to the site (update existing pages and create a couple of new ones) so do I need to install WP? This site is using hostgator instead of BlueHost and when I tried to install WP via the cPanel in hostgator I kept getting errors. The error messages were very vague and just said there was a problem with the install.
The person who created the site is no longer accessible for assistance and the owners of the site do not know anything about it. 🙁 I’m struggling to find a couple of items in the site in order to make modifications so I thought your course might be able to help me figure it out. Thank you for offering this class. If I ever decide to create my own site, I will continue to refer back to this course as it is really good.
@kbglasgow Hey there! So it sounds like if you already have an existing site with passwords and logon information that WordPress is already installed? In that case, you don’t need it installed again 🙂 Existing sites can be set up in a whole bunch of different ways… as such, it’s not easy to diagnose what the specific problem might be without looking at it, unfortunately (although I’m guessing the errors were to do with WordPress already being installed). I would suggest looking at the lesson on “What to do if something goes wrong” – you might find one of the resources there of use!
I’m curious…why do you suggest choosing the domain name without the “www”? Also, I already installed WP when I was exploring BlueHost and trying to figure things out a few weeks ago, so how would I know if I chose the one with or without the “www”?
Good question – technically both with the WWW and without the WWW are OK, though with the WWW is, I guess you could say, a little old fashioned 🙂 (You can read an argument for/against here: http://www.sitepoint.com/domain-www-or-no-www/). To change it, go to your WordPress dashboard and lookin Settings > General. You’ll see there are two areas with your domain name, and you can edit it here 🙂
Thank you. I did something similar to Hereandpear. Unfortunately, I used WPBeginner to install WordPress (got caught up after researching hosting sites). Your tutorial is MUCH more comprehensive and detailed. Definitely the set up course to take to cover all the bases.
@201794 Thanks for the feedback! 🙂
Thanks for adding the bit about the Mojo marketplace — apparently that’s how I installed it, and I’ve been questioning if I did it correctly. The problem/confusion I’m having now is that, when I log into bluehost, I occasionally get sent over to the mojo marketplace and can’t figure out how to get back and forth. Could you clarify what functions each site has now that I’ve installed WP? I know the market place has themes and plugins for purchase, but then there’s their control panel, too… Also, I can’t find evidence on my bluehost cpanel that WP is installed –where would I go to find the WP login info, for instance?
Hey housewifeish! So, my first suggestion would be that if you believe WordPress is already installed, you should navigate to yourdomainname.com/wp-login. If it is indeed installed, the login form you now see will be your evidence 🙂 And if you’ve forgotten your password, you can reset it at this page. To use WordPress – once it’s installed – there isn’t much need to be logging into BlueHost/Mojo at all. Is there something in particular you’re trying to do?
Nothing specific, I just couldn’t figure out why there were two control/setting panels, and I wasn’t sure if I accidentally ended up going through an official affiliated bluehost program, or somehow wound up with one of those “pay a subscription for something that you don’t need” scams. (That totally happened to me with shutterfly a few years ago. Dumb.)