


 way to start a WordPress blog or website in 3 simple steps. You'll be up and running in under 5 minutes!)
 Last updated: May, 2018.
If you’ve been wondering how to start a blog or website for at least a couple of months, you’ve probably heard of WordPress by now. It’s a hugely popular (in fact, it’s the largest self-hosted platform in the world!), and is used by everyone from very small to very large blogs and business. And the best part? It’s NEVER BEEN EASIER to get started! With BlueHost you no longer have to install WordPress after you’ve signed up for hosting… it’s automatically done for you!
Also: BlueHost is currently offering readers of Blog.Biz.Boss a reduced hosting price from $2.95 per month! Click here to get this limited-offer discount.
How to start a blog or website in 3 steps
1. Get a free domain name when you sign up for BlueHost hosting
2. Install WordPress (the easy way – details below)
3. Log in and adjust some basic settings outlined here
Disclosure: I’m an affiliate for BlueHost, and have been using them for the last six years. I’ve also recommended them to around 10,000 others! They’ve been very reliable, and their live-chat feature means help is only ever a mouse-click away! Readers of Blog.Biz.Boss can click here to get started with BlueHost from as little as $2.95 per month and a free domain name (conditions apply).
Now, start scrolling and get going! (Side note: If you’d prefer to learn WordPress in a more in-depth way, you can sign up for the FREE Beginner WordPress E-course after you’ve completed these steps to learn a lot more!)
How to start a blog or website: STEP 1 – Domain name & hosting
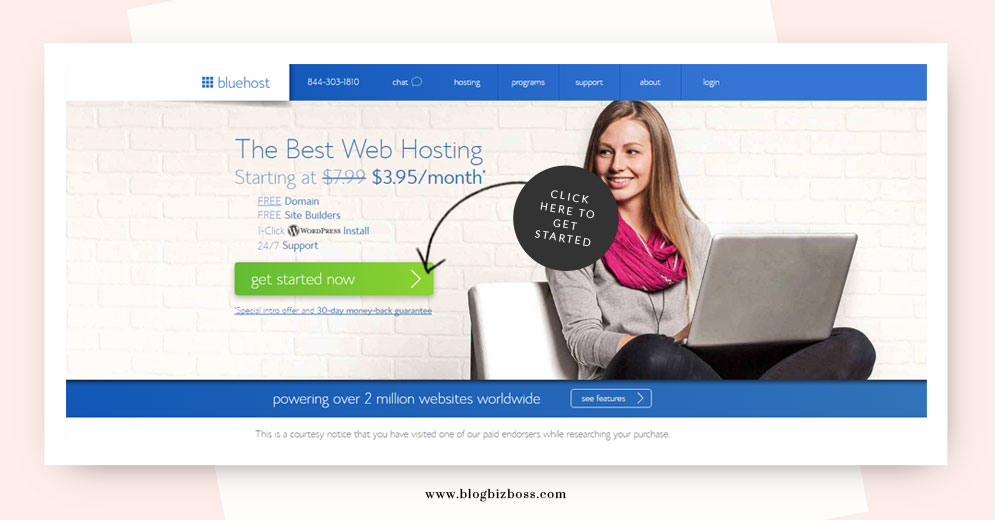
The first step is to get your domain name and hosting sorted. Head to the BlueHost website (don’t worry if it looks a little different to these pictures – they update their designs a lot!) and click “get started now”. This will take you to their page of packages.
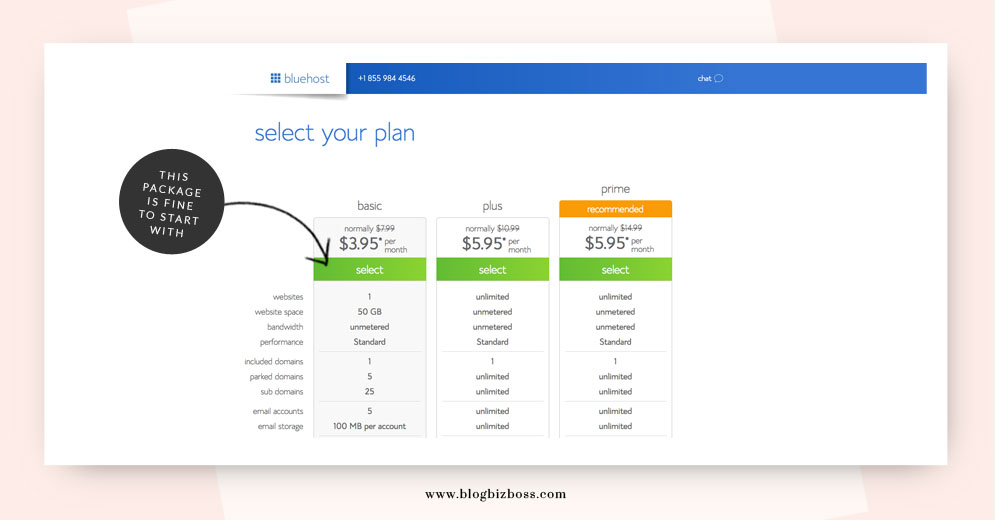
Next, select your package! I use the “plus” plan (as I have more than one website), but for most people the “basic” will be just fine to start with (and you can always easily upgrade later on if need be).
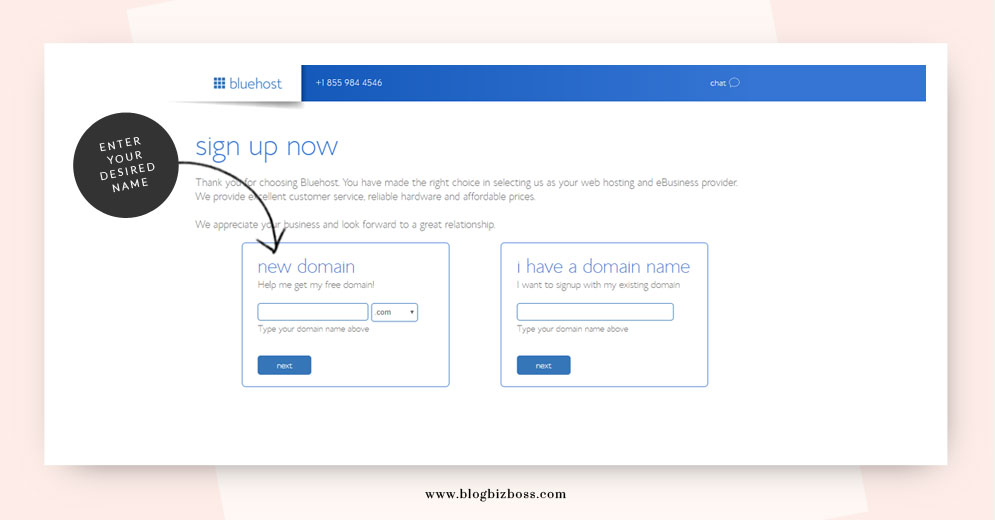
This is the fun part! Enter your desired domain name (ideally as a .com, and make it short, memorable and easy to spell) or the domain name you’ve already registered elsewhere (and if you sign up for my e-course to learn WordPress free, you’ll find instructions on what to do later on if you already have a domain name). If your existing domain name is already being used on another blog, for example, that’s OK – it won’t mess anything up until you’re ready to use it with the new WordPress site you’re currently creating.
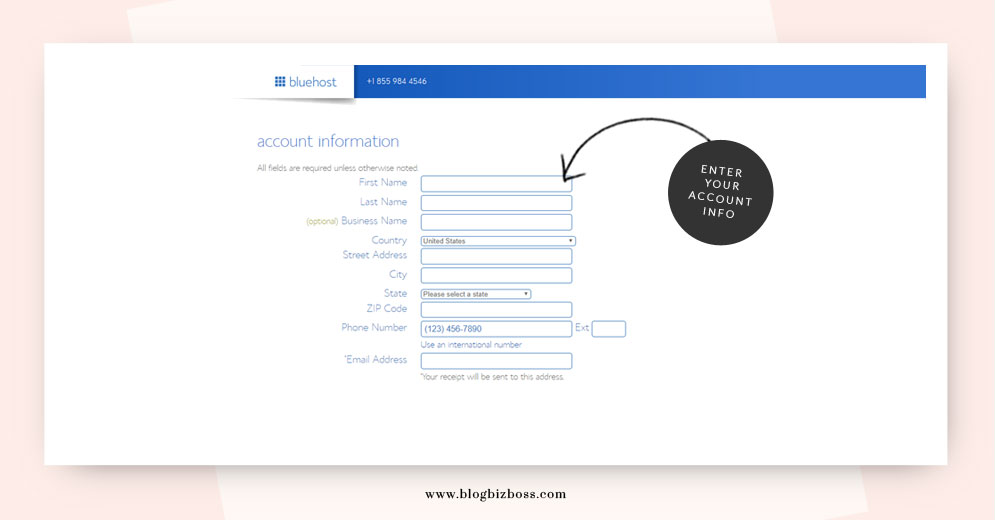
If the desired domain name is available… congrats! You can proceed! Start by filling in your account information.
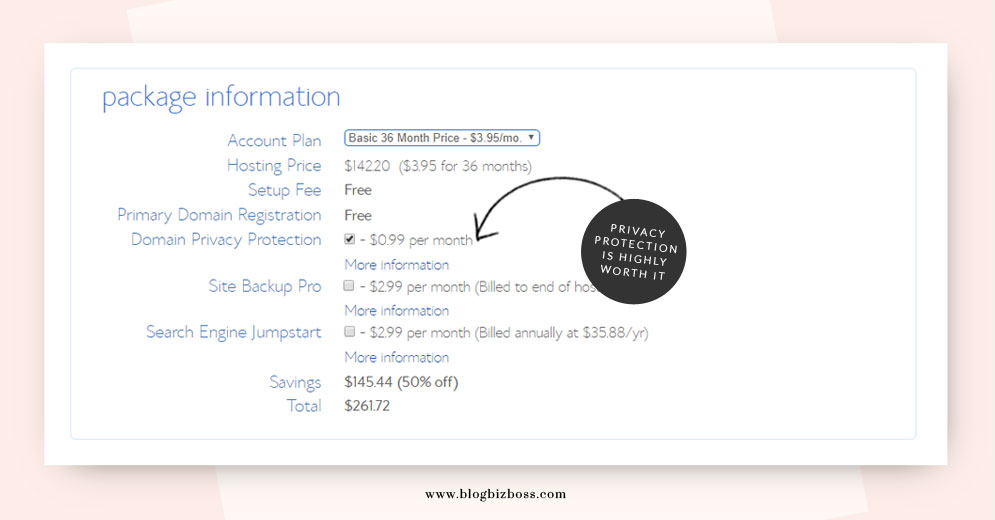
Then when you get to package information section and the part about privacy protection, know this: it’s recommended! The length of the plan is up to you, and everything else presented is optional (I don’t actually recommend anything else!).
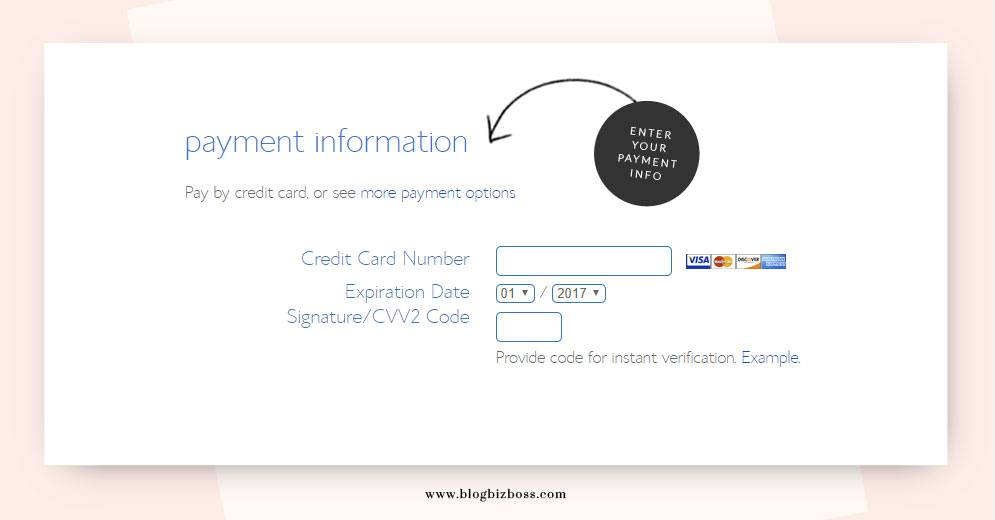
Once you’ve entered your payment info and confirmed the reading of the terms and conditions (everyone reads those, right?!), you can click “submit” and proceed. On the next screen you may be given some special offers including on-demand WordPress help (for a fee). These are optional, but there’s nothing else I recommend you need for now.
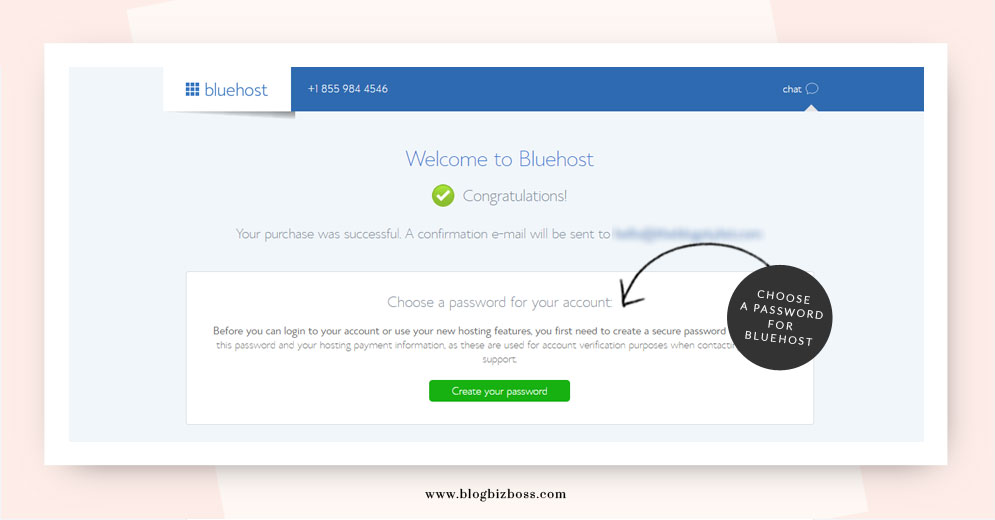
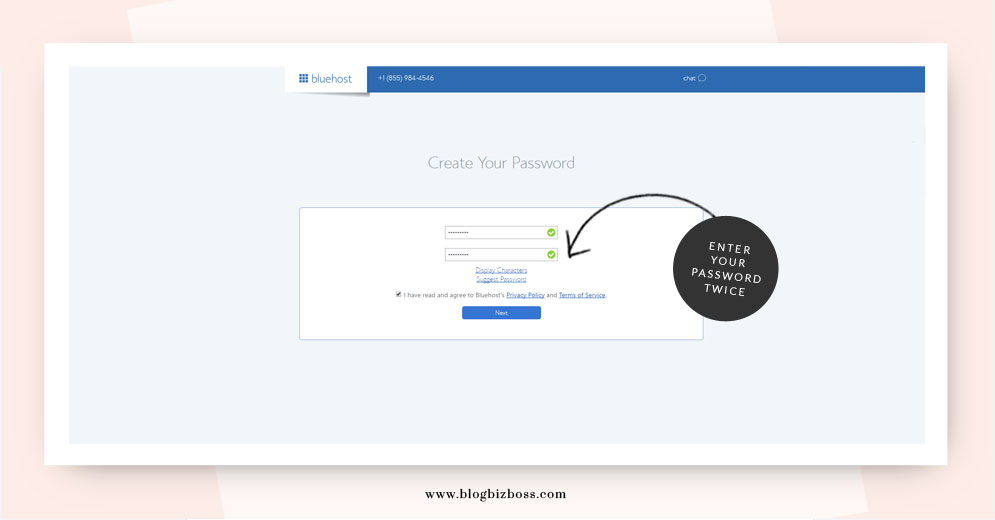
Congrats! Your sign up was sucessful. After this step, you need to choose a BlueHost account password, so go ahead and click “Create your password”.
On the next screen you’ll be asked to enter your new password twice.
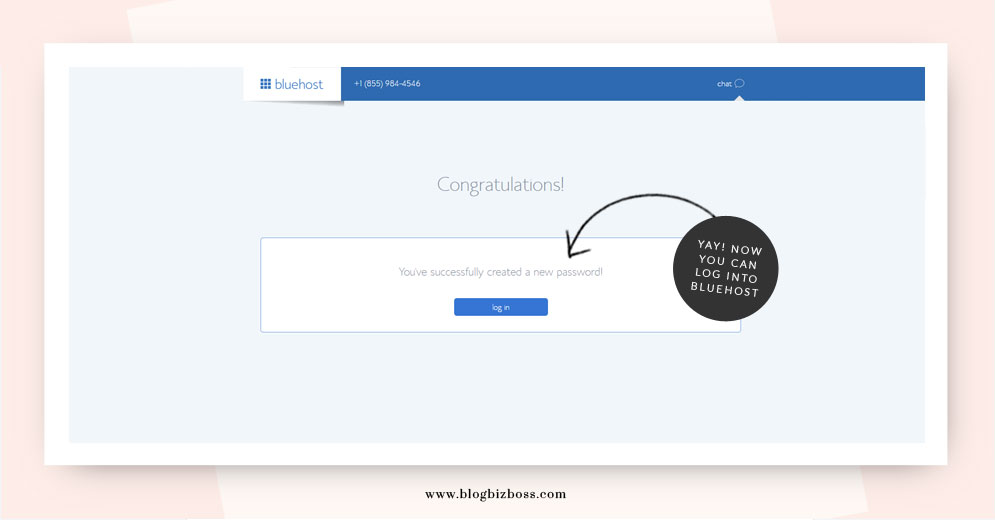
After you’ve completed that, you’ll be taken to the final screen where you can log into your new BlueHost account! And that’s all there is to getting a domain name and hosting! Also, you’ll now receive all of your account details via e-mail. These e-mails include your receipt of purchase, account/FTP details (save these for later – this can be important and my free WordPress e-course explains why!) and your e-mail address verification.
How to start a blog or website: STEP 2 – Installing WordPress
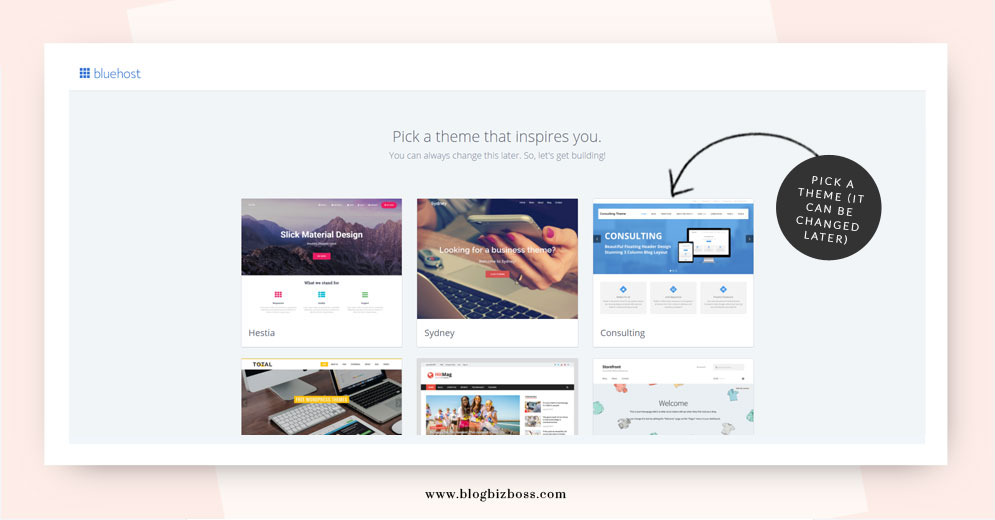
The most exciting part about this step is that BlueHost now automatically installs WordPress for you on new hosting accounts! When you first login to BlueHost (after clicking the login button as pictured above) you’ll be asked if you’d like any of the themes they’re offering to be installed. This is completely optional – you can add or remove any WP theme you wish at any time (here’s a list of some of the best WordPress themes around). If you don’t want to pick a theme, simply click “Skip This Step”.
Now BlueHost will start to automatically install WordPress for you…
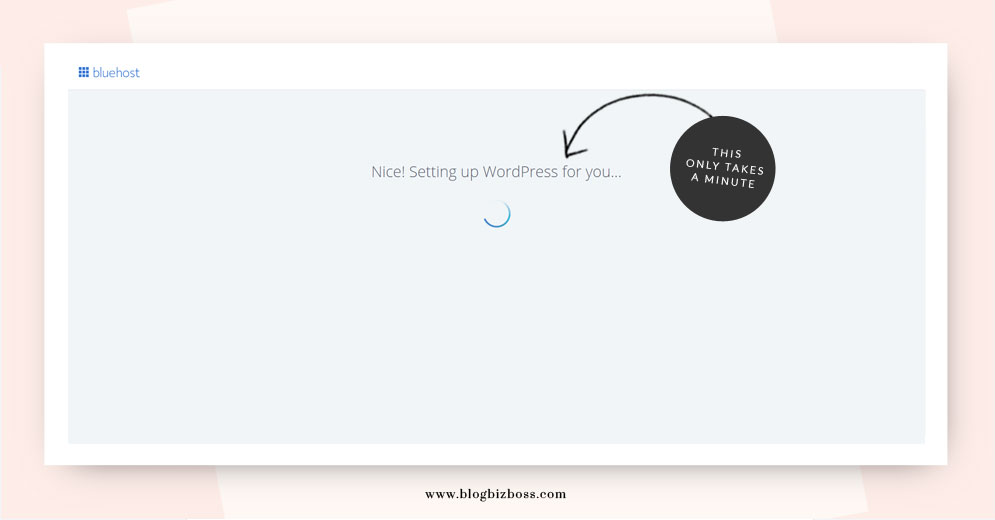
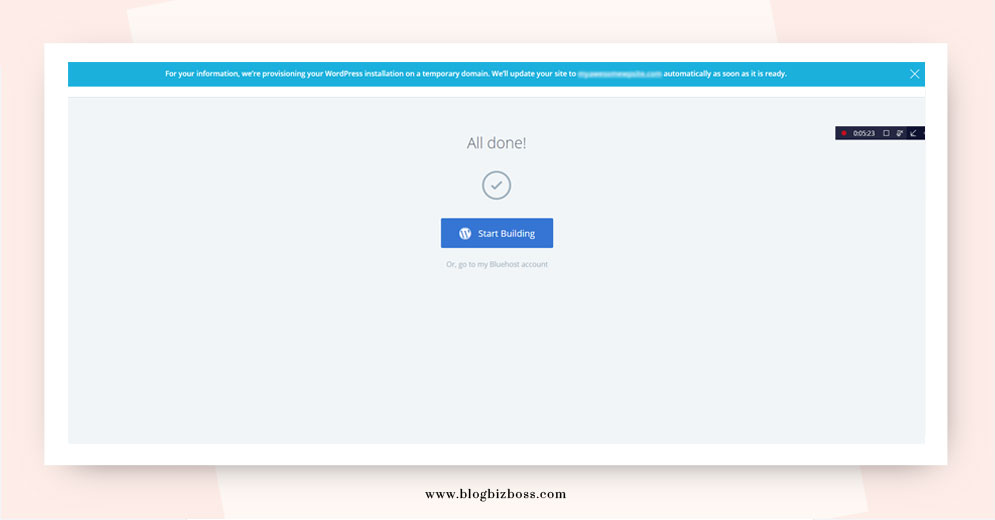
And voila! It’s all done. If you took advantage of the free domain name when signing up, your new WordPress site may now be installed on a temporary URL. Don’t worry if this happens, it will be automatically updated by BlueHost as soon as it’s ready (it doesn’t take long either). If you had already registered a domain name elsewhere, simply go to your registrar’s website and update the domain name servers (DNS) with the details that BlueHost e-mailed you. If you’re unsure of what this means, simply contact your domain name registrar and they will be able to do it for you in a matter of seconds (it’s very easy!). If you want to know more about changing name servers yourself, I cover this step in a lot more detail in my free WordPress e-course.
How to start a blog or website: Step 3 – Logging in
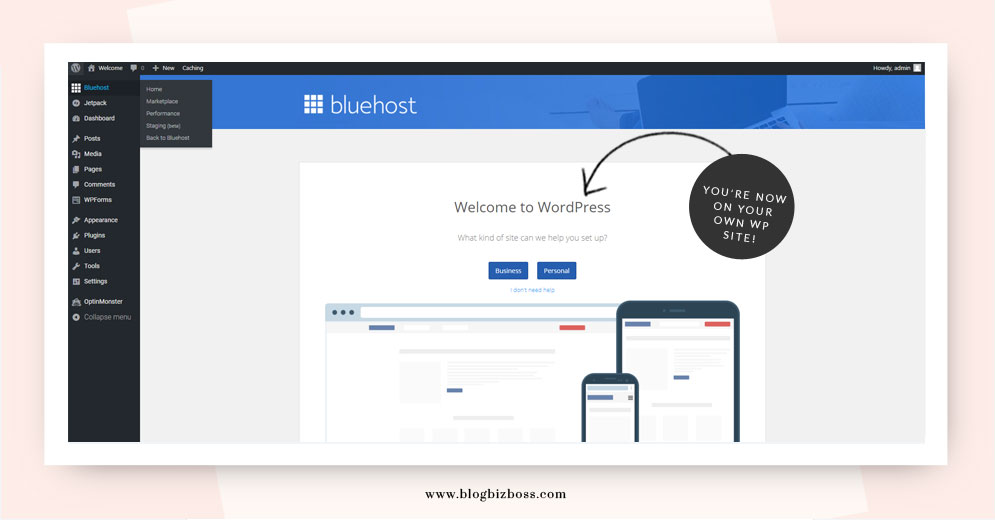
You can now view the dashboard (AKA back-end) of your new site! Simply click the “Start Building” button shown in the picture above, and you’ll end up in a new tab on a screen that looks like the below! This means you’re logged into your new WordPress website and you’re ready to start making as many changes as you wish! Where you’re asked what kind of site you want to set up (options: business or personal) I recommend selecting “I don’t need help” (if you do, check out my e-course instead). To view the live (front-end) of your website, hover over the “Welcome” link in the top left corner and click “Visit site”.
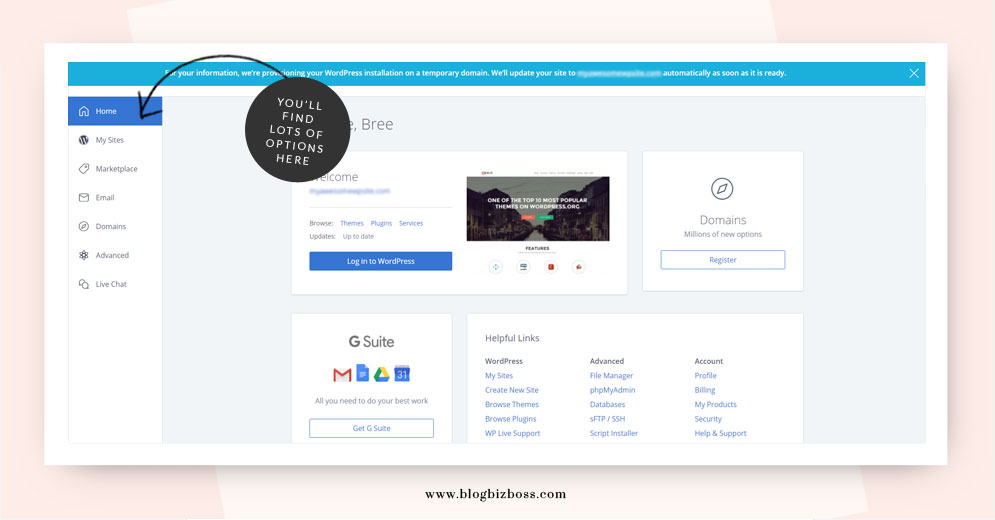
If you head back to the original tab on the BlueHost website, you’ll see a screen that looks like the below. This is called the cPanel (control panel). From here you’ll be able to log in and out of WordPress, create e-mail accounts, register more domain names (if you need them) and so much more.
Recommended extra steps & important info
Your new WordPress website is ready to go! You can start writing, posting, and making as many changes as you wish! However, I do recommend making at least three changes before you begin.
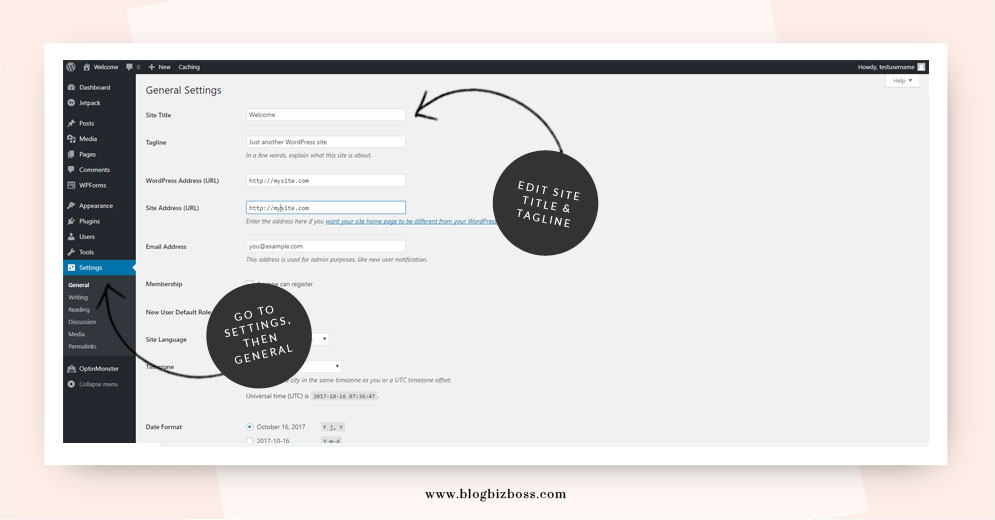
1. At minimum, scroll down to Settings > General and update “Site title” with your sites’s name, and “Tagline” with your tagline. DO NOT TOUCH the WordPress Address (URL) or Site Address (URL) as this will automatically update once your temporary URL is no longer in use.
2. Also go to Settings > Permalinks and select “post name” option. This is optional, but by far the most popular setting (and once you’ve decided on your permalink structure you should not change it so it’s best to make sure it’s right from the start!).

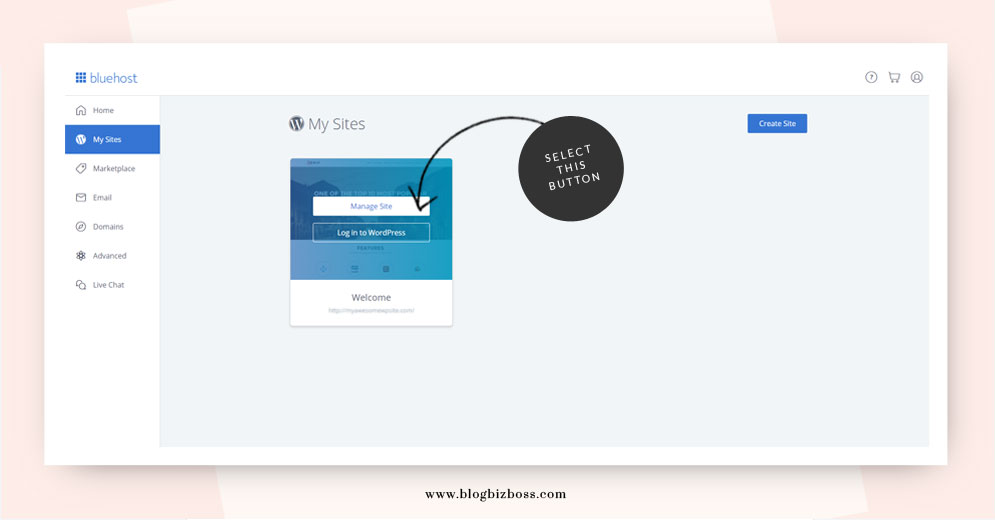
3. Activate your free SSL (Security Site Lock) certificate. This sounds hard and geeky but is very easy to do and will make Google like your site more! It basically changes your address from http://yoursite.com to https://yoursite.com (see the “s” added in there after the http part?) and makes things more secure (I could go into a lot of detail why, but it’s not necessary for now). You can only do this once your site is no longer on the temporary URL I mentioned above, so you may need to come back and do this in a couple of hours (so don’t forget!). Go to your BlueHost control panel, select My Sites and then Manage Site (as pictured below).
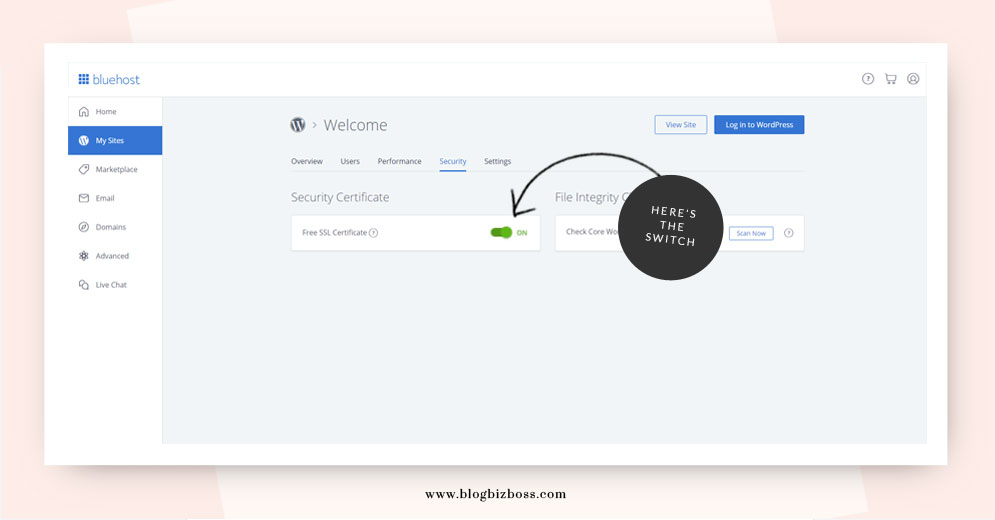
On the next screen select the Security tab and move the Free SSL Certificate switch from off to on as pictured here. And that’s it! You are now a WordPress blog or website owner, free to make as many changes as you wish!
What else?!
I offer loads more tips including security, performance, SEO, customization, backups, plugin recommendations and more in my free WordPress e-course. I totally recommend you sign up (along with the 7,000+ who already have) as the more you know, the more you can get out of your WordPress experience!
*I recommend confirming the pricing with provider before signing up as they are subject to change.
Have a question? It’s probably answered in my free WordPress e-course! Sign up here.